Watermelon nail art is a fun and trendy way to add some summer vibes to your manicure. To create watermelon nail art, you will need a few key supplies including green, red, black, and white nail polish, a top coat, a small nail art brush, a dotting tool, and nail polish remover for cleanup.
Start by applying a base coat to protect your nails. Once the base coat is dry, paint your nails with a light green polish to represent the watermelon rind. Next, use a dotting tool and red polish to create the flesh of the watermelon, leaving a small area at the base of your nail unpainted to represent the white part of the fruit.
After the red polish dries, use a small nail art brush to add some black seeds to your watermelon design. To finish off the look, seal in your design with a top coat for a glossy finish. Be sure to clean up any excess polish around your nails with a brush dipped in nail polish remover.
With a little bit of patience and creativity, you can create adorable watermelon nail art that is perfect for the summer season. Experiment with different shades and designs to make your watermelon nails truly unique and eye-catching.
How do you make lemon nail art?
What can I use for homemade nail art?
You simply need a nail painting brush and three to six complementary colors. After painting on a clear base coat, draw stripes onto your nails in alternating colors, then seal with a top coat. (This set of five nail art brushes features a soft grip that makes it easier to hold the brush.)4 days ago
How do you make minimalist nail art?
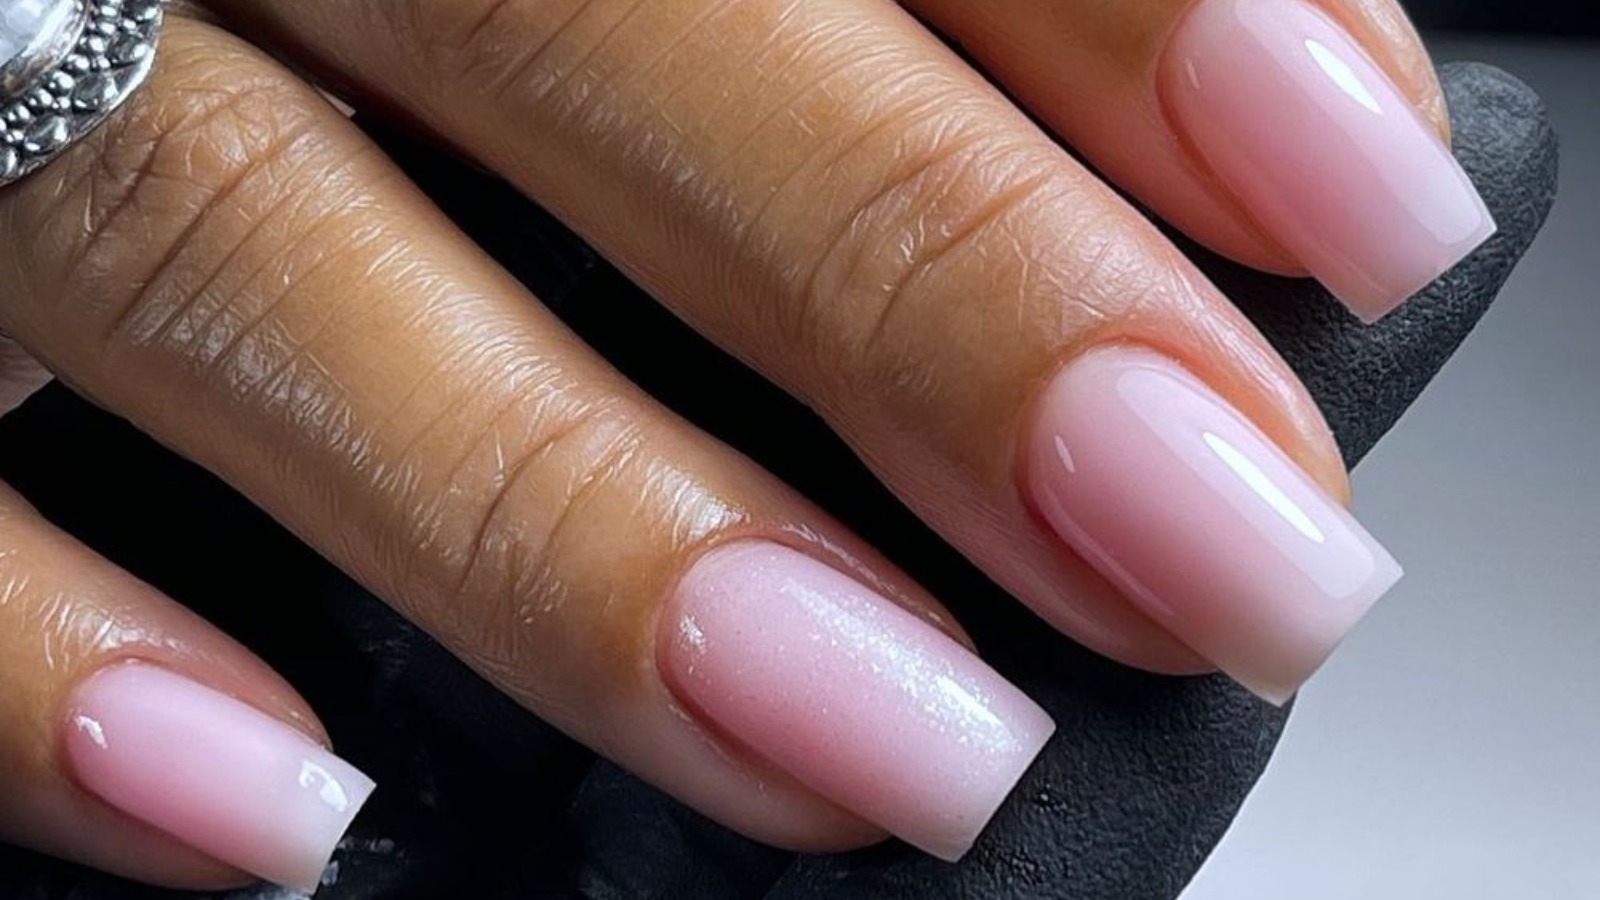
How to do strawberry milk nails?
– Start with a base coat. This not only helps protect the nail, but also helps your manicure last longer. …
– Apply 1-2 coats of your desired polish. The key here is to use a light pink color with a sheer finish, which will create that “milky” effect. …
– Seal in the color with a top coat.